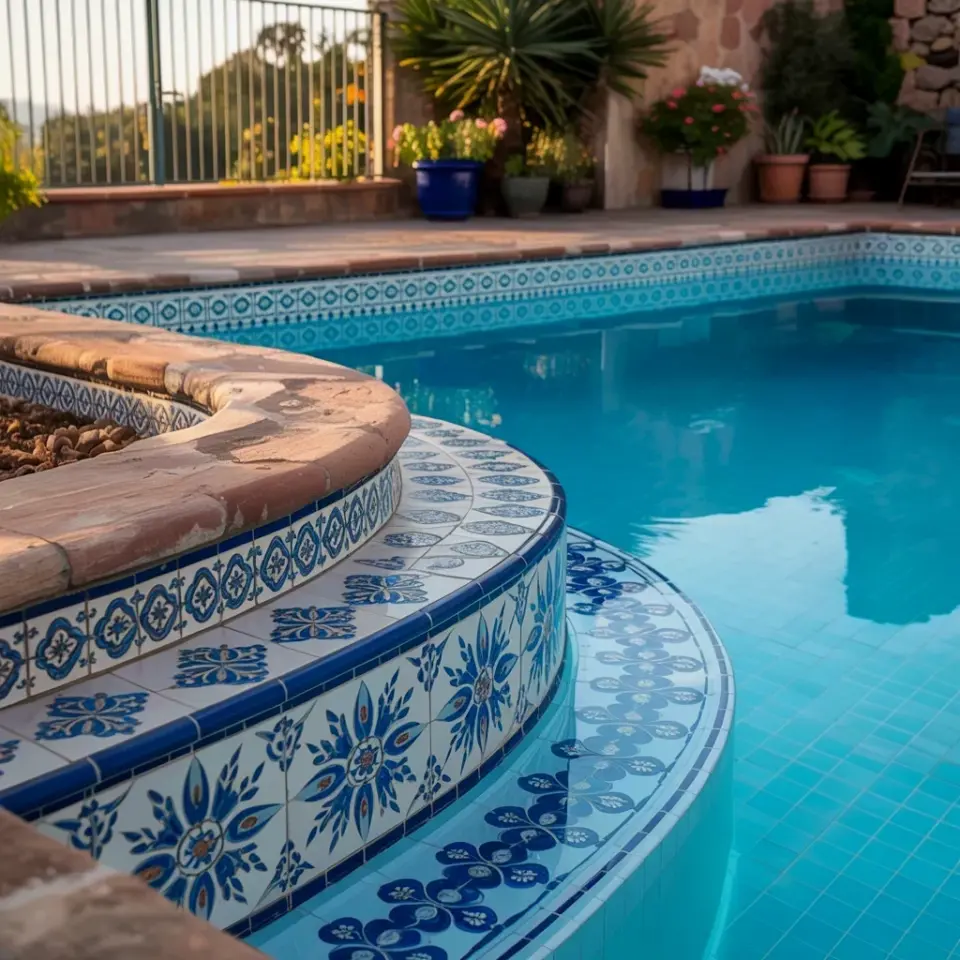
Standing at the edge of our backyard pool, surrounded by open boxes of cobalt and white tile, I realized we had no idea what we were doing. Planning a pool mosaic tile border is deceptively simple on Pinterest and brutally specific in real life. We chose that intricate floral pattern for our curved edge, the one in the photo with the raised planter and warm brown stone deck. The water was crystal clear turquoise the whole time, which made the tile decision feel even more permanent.
Why Dry-Laying the Pattern First Saved the Whole Project
Before we mixed a single bag of thinset, we laid the entire border out on the ground next to the pool. No adhesive, no spacers, just tile pieces arranged in the exact pattern we thought we’d follow. For a curved edge, this matters a lot. The floral and geometric design doesn’t shift gracefully if you eyeball it. It drifts. It rotates. One tile goes slightly sideways and suddenly the whole flower looks like a drunk octopus.
We spent four hours moving tiles around that afternoon. My spouse kept saying “this one looks like a snowflake” about every third piece. Eventually, we got the pattern locked in. Then we took a dozen photos from every angle, because there was no way we’d remember the exact order the next morning. That photo roll saved us more times than I can count.
Leave a Comment